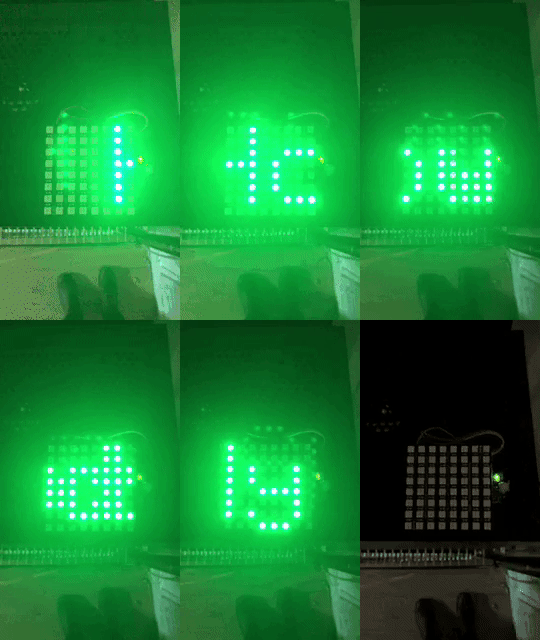
As a New Yorker, I've had this dream, for awhile now - to be able to glance at a display on my wall and know when my train is coming. The MTA has a website that provides this experience, but the user experience is pretty terrible and you can't even bookmark your subway stop.
And thus, the MTA Train Time Display project was born: an LED matrix that displays the number of minutes until the next train arrives at my station.
The basic architecture of the project is that the LED display is connected to an Arduino that makes a request to an API wrapper around the MTA's GTFS data feed, parses it, and returns the relevant information to the Arduino, which then turns on some of the LED's in a pattern that represents a number.
All the code from the project can be found here.

Below is a how-to-guide that demonstrates how to create the same setup I did, as well as how to use the API Patrick I built for this project!
Materials
- Arduino MKR1000
I used the MKR1000 because I've had it in a drawer for awhile, but theoretically any Arduino microcontroller that's wifi enabled should work. - Neopixel LED matrix
- 3 wires
- Resistor (optional)
- Soldering supplies: soldering iron, solder, desoldering wick
- Micro USB cable
 (An incomplete photo of the supplies)
Get Arduino set up
Download the Arduino IDE. They now have a web editor if you're feeling brave, but I haven't tried it out yet! Download your board's software:
Tools > Board > Board Manager

Download the necessary libraries
Sketch > Include Library > Manage Libraries
The libraries you'll need to install are
- WiFi101
- Adafruit NeoPixel
- Adafruit GFX
- Adafruit NeoMatrix
Set up an API for the MTA subway data
Follow the instructions on the Train Times Readme.
If you follow those instructions, you should now have cloned the train-times repository.
Make an HTTP request from the Arduino
Finally, we can actually start doing cool things.
In the Arduino IDE, open up the Arduino file train-time-visualization.ino.
Warning: The MKR1000 only works on 2.4GHZ wifi bands. If your home network has the option to connect to 2.4GHZ, connect to that. Sometimes the network will do this automatically, but if it doesn't it might cause you problems.
In the same folder as the train-time-visualization.ino, create a new file called secrets.h to store your home network's login info.
The content of the file should look like this:
#define WIFI_KEY "your_network_name"
#define WIFI_PASS "your_password"
If you plug in your Arduino to your computer, you should now be able to upload the sketch and make HTTP requests.
If you have the file/sketch open, uploading is as simple as pressing the little arrow in the corner:

To see the Serial Monitor output (the Arduino's serial output) just go to Tools > Serial Monitor. My serial output looks like this:

Put the pieces together
I don't have an electrical background, but luckily there are plenty of people at the Recurse Center who were willing to lend a hand. The Neopixels come with 3 pins: Data in, power, and ground. The data pin on Arduino is usually #6. Here's how I soldered them together:

![]()
However, if your board is different, you should read the documentation just to be sure.
Make lights blink
Now that your Neopixels are connected, you can play around with some of the library examples.
I had some with the NeoMatrix library examples -

Once you verify that the Neopixels are working, you can upload the train-time-visualization.ino to your device to have your very own train time display :)
Thank you!!
Patrick for helping me with the train-times API, and Byung, for being my soldering expert!